First, simply plug in the USB external hard drive into the WHS machine. Plug in the power if the drive came with one. Here I’m using a 2TB Fantom Green Drive.
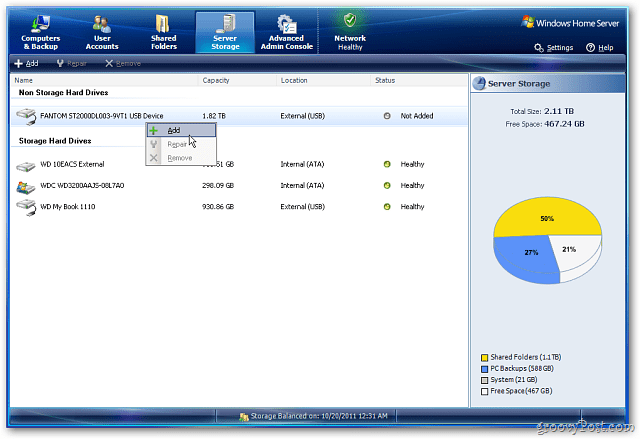
Launch the Windows Home Server Console on one of the computers on your network. The new drive will be listed under Non Storage Hard Drives. Right-click the drive and click Add. In the Server Storage panel, notice there’s only 21 percent of total storage space available.
The Add a Hard Drive Wizard starts. Click Next.
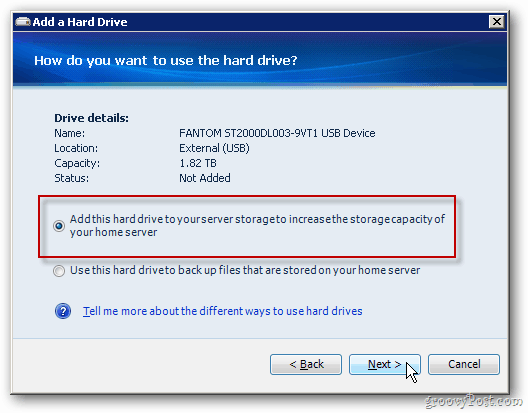
On the next screen, select the first option to add the drive to increase storage capacity. The other option is used to backup data from your server. Click Next
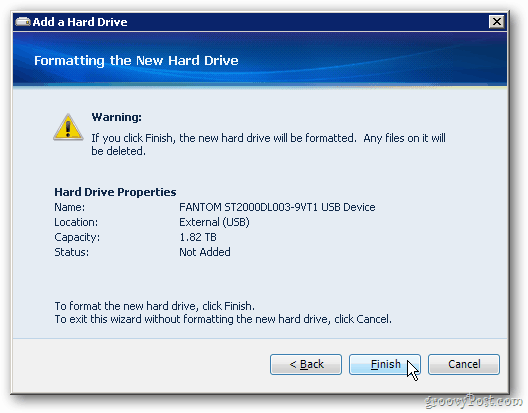
Next, you’ll see a warning message that the drive will be formatted. If the drive you’re using isn’t new, make sure to back up any data you need on it. Click Finish.
WHS will format the drive and add it to the storage pool.
After it’s complete you’ll see the following message. Click Done.
Back in the WHS Console, click Server Storage. You’ll see the drive listed under Storage Hard Drives. The Server Storage graphic in the right panel will reflect the increased amount of storage too.
If you need to remove a drive if it crashes or if you just want to replace it with a larger one. Here’s how to do it. Comment Name * Email *
Δ Save my name and email and send me emails as new comments are made to this post.


![]()
