From the Metro start screen, hover the mouse pointer in the lower right corner, and click the magnifying glass icon.
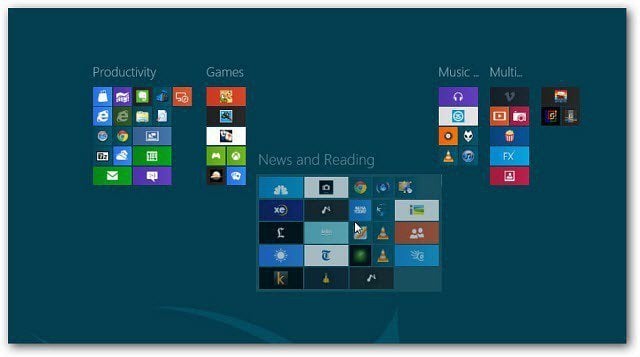
The icons on the Metro start screen are minimized. Right click any of the existing groups. A green checkmark appears in the upper right corner of the group. A menu bar appears at the bottom too, click Name Group.
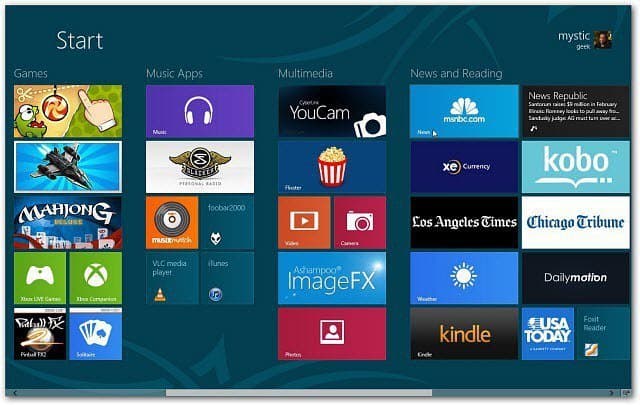
Now name the group whatever you want it to be called. Then long press or click the icons you want to move into the groups you’ve created.
Click the Magnifying glass icon again, and you can move complete groups around for easier access.
After moving Metro tiles around, you’ll find that you can make as many different groups as you need. Having the ability to move complete groups around really helps to get faster access to them.
Organizing apps on the Metro start screen is great on a laptop or desktop PC. This comes in handy on a Windows 8 tablet too. This process is similar to keeping iOS apps organized with folders on an iPad, iPhone or iPod touch. https://blogs.msdn.com/b/b8/archive/2012/03/21/scaling-to-different-screens.aspx?Redirected=true Me and you have not a magnifing glass but we have instead of that a symbol of minus. A functionality is the same. Comment Name * Email *
Δ Save my name and email and send me emails as new comments are made to this post.

![]()


![]()
![]()
