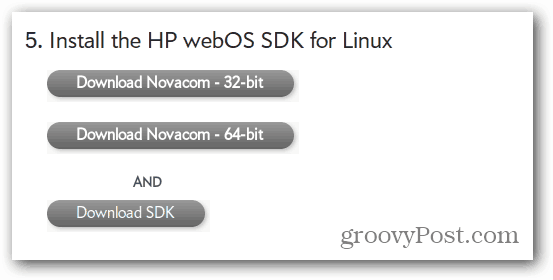
With Ice Cream Sandwich slowly trickling out to Android devices, now is the opportunity to give your HP TouchPad some love from the big green robot. Follow these simple steps below, to enjoy a TouchPad with both WebOS and Ice Cream Sandwich (CM9). Editor Note: This is alpha software, meaning things are definitely broken. If that sounds scary to you, I recommend you hold off until there’s a more stable version. Also, these instructions are for linux, but OS X and Windows would be similar. If you’re an early adopter, and like to tweak your toys, let’s begin. First, go to the official CM9 ICS forum Post and download the following files.
gapps_ics_4.0.3_v10.zip (latest version available here)moboot_0.3.5.zipupdate-cm-9.0.0-RC0-Touchpad-alpha0.5-fullofbugs.zipupdate-cwm-tenderloin-1012.zipACMEInstaller2
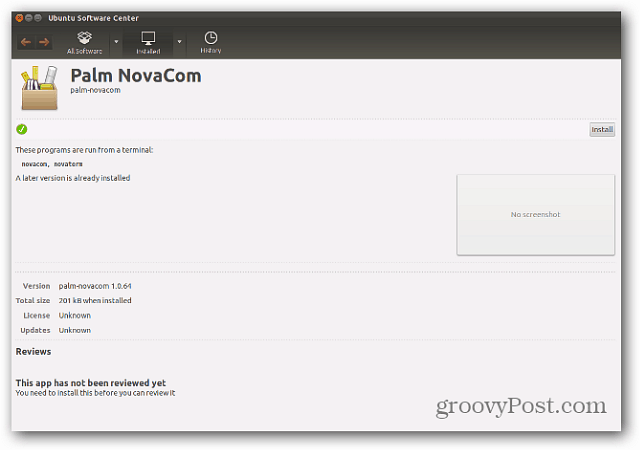
Next, download and install the Novacom drivers from Palm’s website.
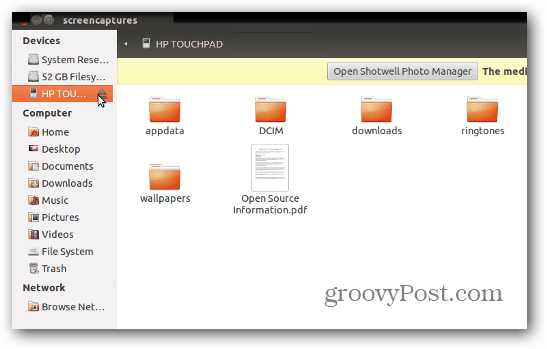
Now that the Novacom drivers are installed, move some of the files that you downloaded onto the Touchpad. Plug in the touchpad and set it to USB Drive.
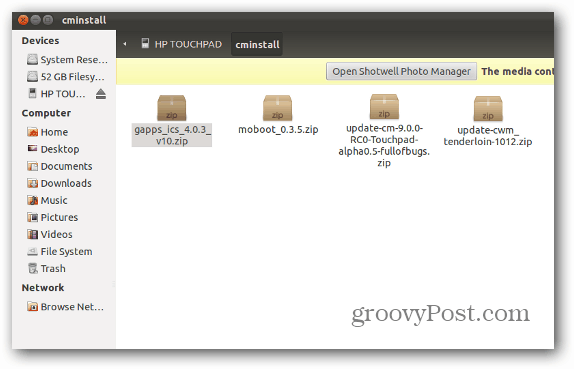
Make sure you have at least 2 GB of free space on the TouchPad. Create a folder called cminstall. Copy the files you got from the CM9 forum post into that folder.
gapps_ics_4.0.3_v10.zipmoboot_0.3.5.zipupdate-cm-9.0.0-RC0-Touchpad-alpha0.5-fullofbugs.zipupdate-cwm-tenderloin-1012.zip
Now that the files are on the Touchpad, click the Eject button in nautilus.
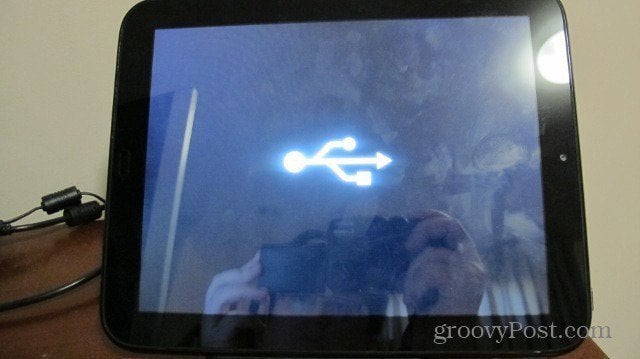
Hold down the power button and shut off the TouchPad. Now you’re ready to install everything. Hold down the Volume Up button and the Power button at the same time. A big white USB symbol will appear indicating its time to run the install script. Plug the TouchPad back into your computer.
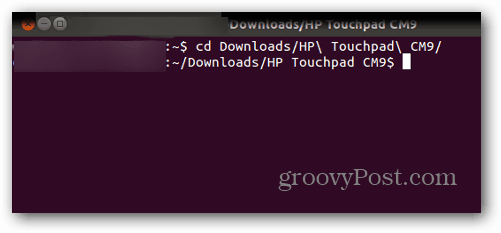
Open Terminal and change the directory to the one where you downloaded the files.
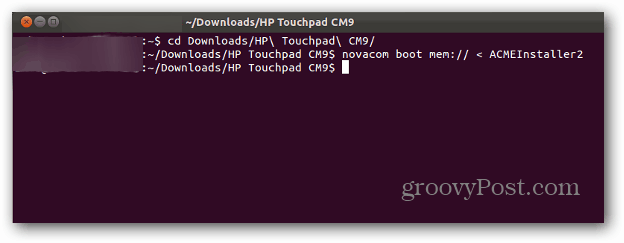
Now type: novacom boot mem:// < ACMEInstaller2. This will start the install process.
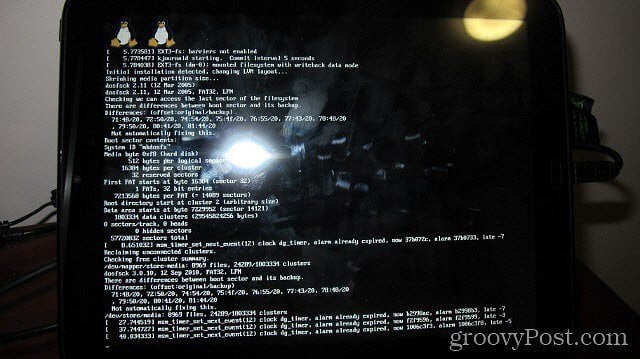
At this point you’ll see a lot of cool stuff happening on your screen. Don’t mess with or touch your tablet at this point. You could potentially corrupt the process if you do. Once it is completed, your TouchPad will restart.
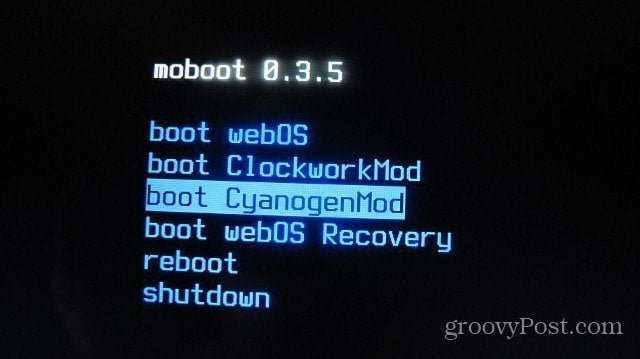
Be ready to use your volume buttons when the bootloader comes up. Use Volume Down to highlight Boot CyanogenMod, then use your center button (the one at the bottom of your screen) to select it.
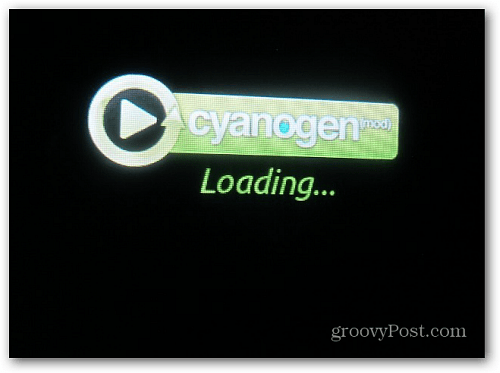
You should see the CyanogenMod loading screen now. That’s a good sign! Note: If your screen is stuck at the CyanogenMod loading screen for a long time, you can hold down Power and your center button to force the TouchPad to shut off. Turn it back on, boot into WebOS, and simply copy the CyanogenMod zip file back onto your Touchpad and manually flash it in recovery. Follow the same steps that we will use shortly when we flash GAPPs.
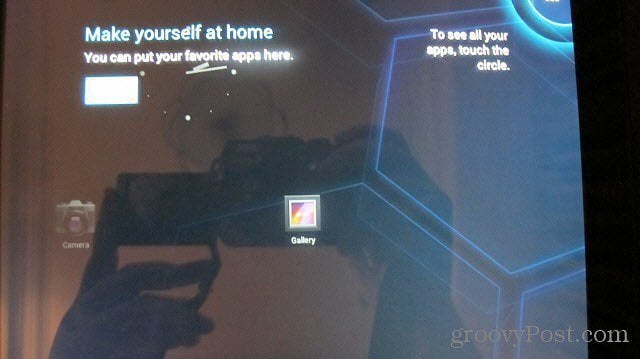
After a minute or so, you’ll see the Ice Cream Sandwich welcome screen. Awesome!
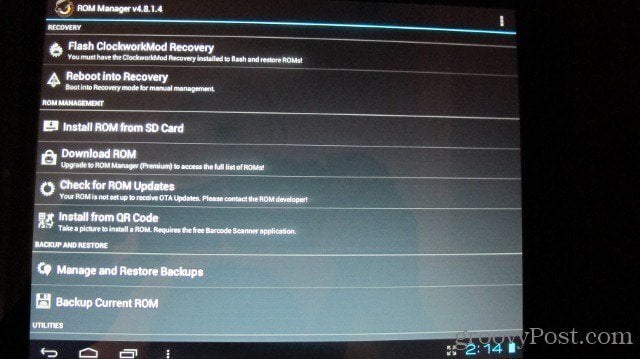
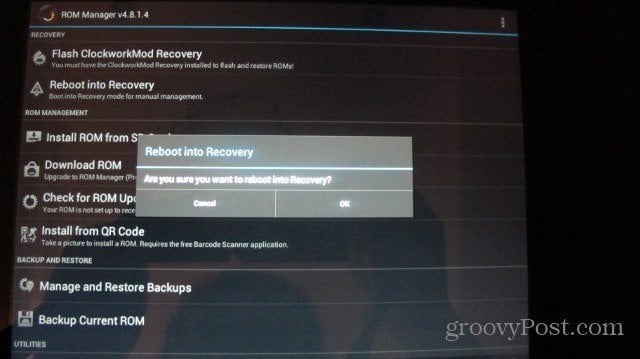
If you want Gmail, the Android Market, and other Google apps, you’ll need to flash the GAPPs file using ClockworkMod Recovery. Open the Rom Manager application and select “Reboot into Recovery”.
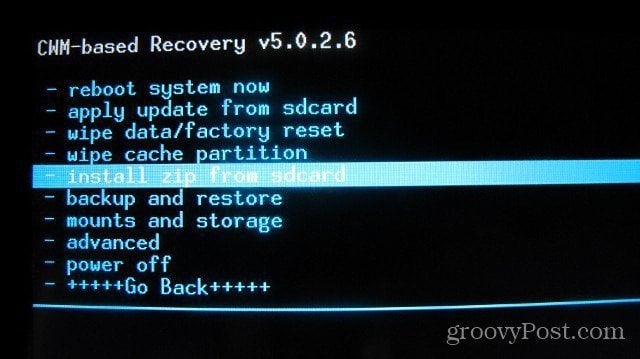
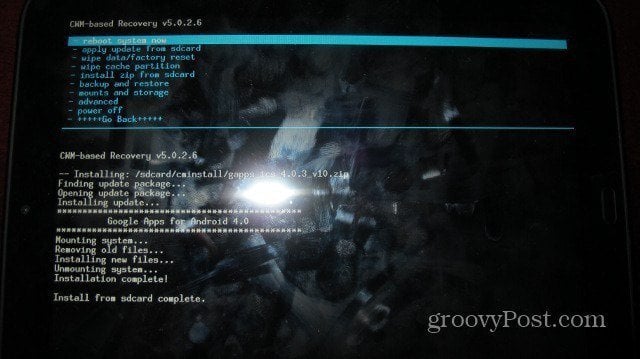
When Recovery is loaded, use your volume buttons to highlight Install Zip from SD Card and press your center button to select it.
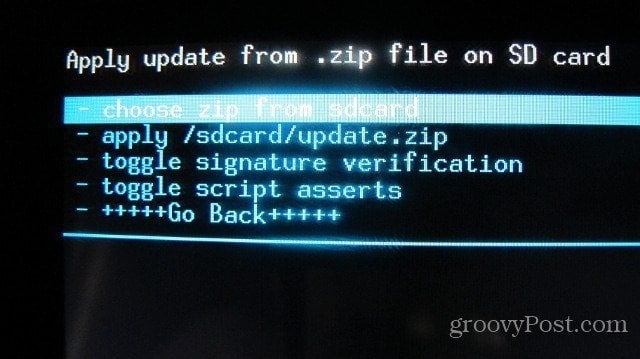
Next, toggle down to Choose Zip File from SDCard and press your center button to select it.
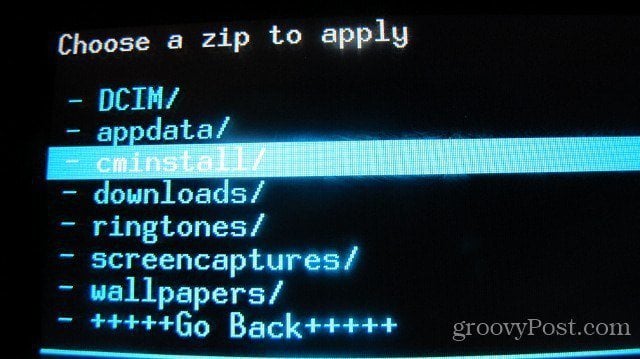
Using your volume buttons and center button, open the cminstall folder and select the GAPPS zip file.
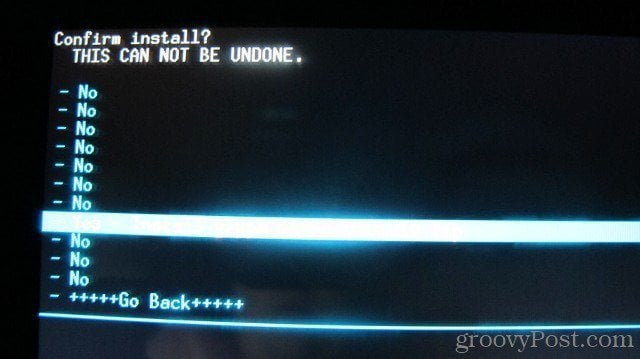
Now you’ll need to toggle down and select Yes in order to start the install process.
Once the install process is finished, use the back menu to get back to the main menu and select Reboot.
Use Volume Down to highlight Boot CyanogenMod then select it.
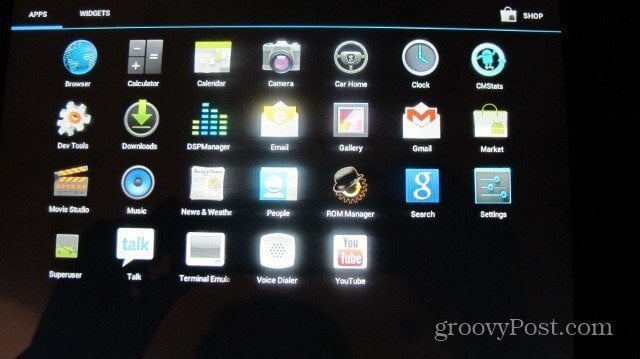
When Android loads up, you should now see applications such as Gmail and the Market. Open one of them and you should be able to input your Gmail information.
You’re done! You’re now the proud owner of a Touchpad with CM9…Groovy! Of course all the pages were at just a crawl because of the heavy traffic. Comment Name * Email *
Δ Save my name and email and send me emails as new comments are made to this post.


![]()
