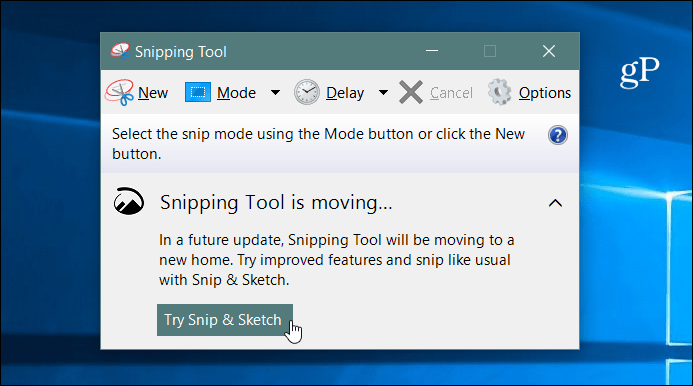
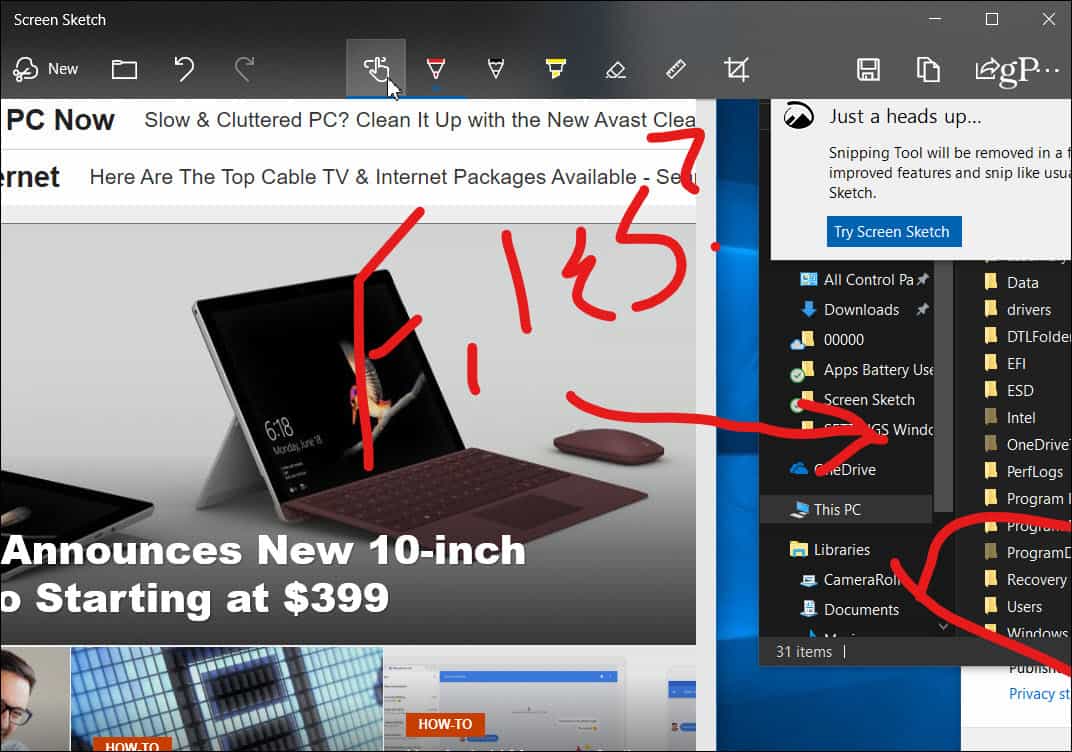
The new Screen Sketch was first introduced with Redstone 5 Build 17661 and will be available with Windows 10 1809 — which, at the time of this writing, is expected to roll out this fall. If you launch the Snipping Tool, you’ll see the following message letting you know it will be removed and consolidated into the new Snip & Sketch tool.
Screenshots with Windows 10 Snip & Sketch
To take a screenshot, launch the Screen Sketch app and click the New button or hit Ctrl + N.
Just like with the Snipping Tool, the screen will gray out, and you’ll see a few options at the top. The buttons offer different ways to take a shot like Freeform, Region, or Full Screen. You can also use the key combo of Windows Key + Shift + S to directly start a region shot.
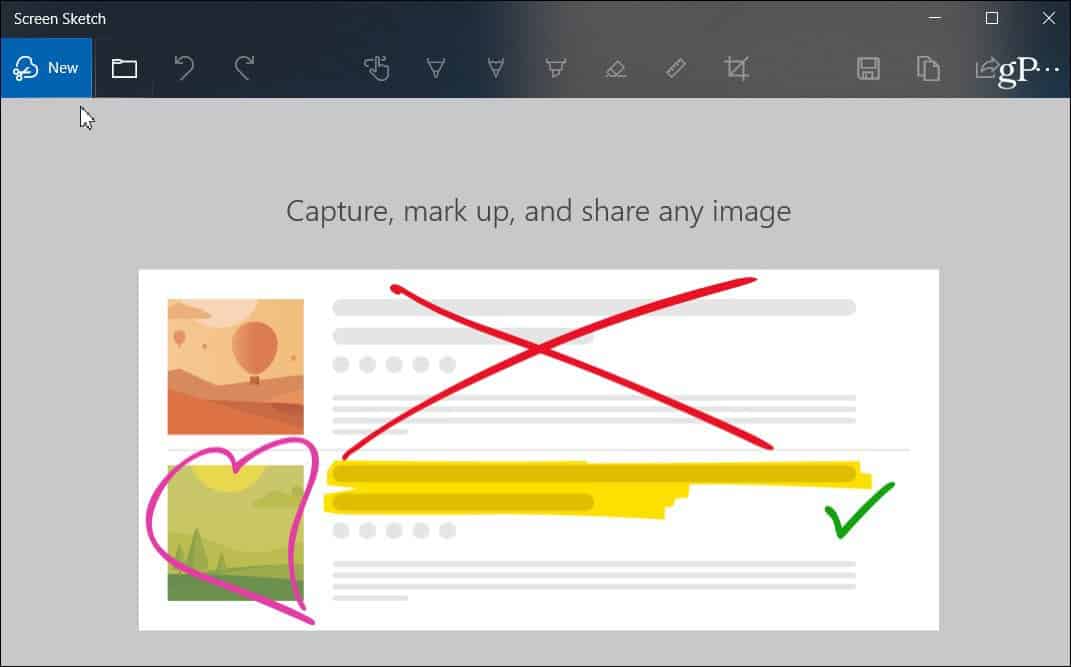
Once you take your shot, you’ll see several options for ways to annotate it. There are different options in the Screen Sketch toolbar like a ruler, different ink colors, cropping, etc. It’s similar to other Windows inking features like Ink Workspace. Or what you see when you annotate an eBook in Microsoft Edge with your finger. Of course, if you have a Surface Pen, you’ll have several more features and settings to configure.
To share a shot, click the Share icon in the upper-right corner of the app. You will get a list of apps, people, and devices you can share the file with. The experience is similar to other sharing features in Windows 10, like Nearby Sharing.
You can also make the PrtScn key to launch screen snipping. Head to Settings > Ease of Access > Keyboard and turn on the option under the “Print Screen shortcut” section.
We have covered ways to take screenshots on all platforms. And the new Snip & Sketch tool is a great way to grab, markup, and share your screenshots from Windows 10. When it officially rolls out, users of the current Snipping Tool should find it easy to use. It’s as responsive and intuitive but with more features.
- Ableword 2. Abiword 3. Angel writer 4. SSuite Office Blade Runner 5. WriteType Some more free snipping tools: Free Screenshot capture, EasyScreen OCR, snap crab and greenshot. Greetings from Oz and safe surfing! I have THREE ‘problems’: = Any changes to the capture is NOT in the clipboard. It only holds what was captured. I can use CTRL-C do that but it isn’t like the old SNIPPING TOOL in that all changes went into the clipboard as well. = If I had NOT saved the clip and try to close the tool it doesn’t warn me to save it… = There is NO WAY I can ROTATE either the ruler or compass? I have a Logitech M705 wireless mouse on a desktop PC. Supposedly this is done using the left mouse button and wheel, but all that does is move the clip up or down? I even updated my mouse s/w (Setpoint) in case that was the problem. Comment Name * Email *
Δ Save my name and email and send me emails as new comments are made to this post.


![]()
