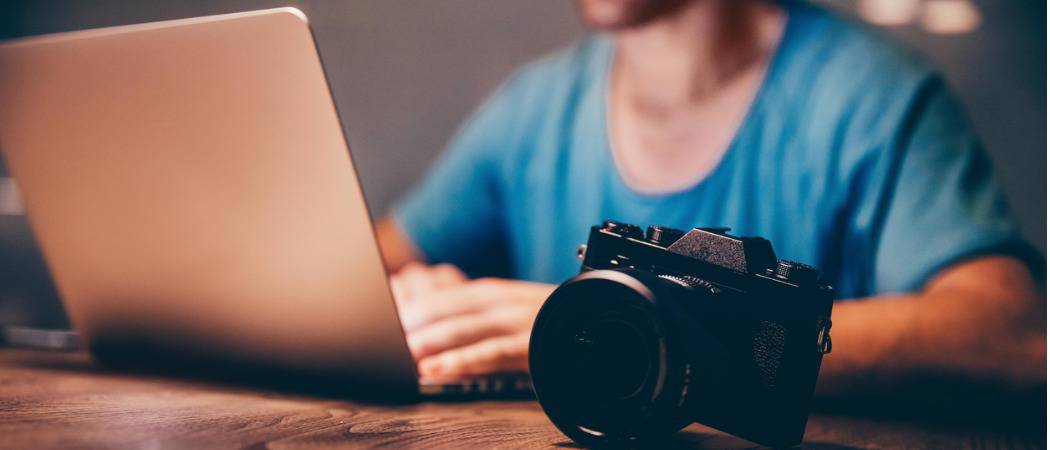
By controlling the depth of field (DOF), you can center the viewer’s attention on a primary subject and give your pictures a center of interest and greater visual impact. Does that mean you always need to pay attention to the depth of field? Yes. But it’s nothing to be afraid of and not very complicated. Let’s dive in.
Controlling Depth of Field is probably the most important creative tool you have by using a DSLR. But do you have to own a DSLR to use it? Not necessarily. Many of the newer high-end point-and-shoot cameras like the Lumix LX3 and the Canon G11 and Canon S90 have full manual control just like a full-sized DSLR. If you don’t want to make the financial commitment of a DSLR or just don’t want the bulk, then these cameras can produce some amazing shots for such a tiny physical and financial size. I have a full-size Canon 50D and a bunch of lenses for most of my photography, but I also have the Canon G11 for when I just want a quick grab and go. OK, enough of this chitchat. Let’s talk about how to do it. Look at the photo above and notice how the front and back areas are out of focus but the center section is beautiful and crisp. This was done by controlling the size of the aperture on the lens. This is the key to controlling the depth of field. Here is a key point to remember: The larger the aperture of the lens the shallower the depth of field will be. Conversely, the smaller the aperture, the deeper the depth of field will be. A shallow depth of field means a smaller area will be in focus and a deeper depth of field means that most, if not all, of the image, will be sharp. You control the aperture size by changing what is called f-stops with numbers like f/2.8, f/8, f/11, and f/22. This is an awkward bit of info for new camera users to get their heads around and for a good reason. It seems to be the opposite of logic. The smaller the f-stop, the bigger the aperture or lens opening, and the larger the number, the smaller the aperture. Here is a trick to straighten this out: The smaller the number, the smaller the area of focus, and the larger the number, the larger the area of focus. Pretty simple right? Most cameras have a mode on the dial that is all about controlling the aperture. It is labeled Av (for Aperture Value) or A (for Aperture) on most cameras. This mode lets you choose the aperture, and the camera will figure out the shutter speed and sometimes the ISO. You can also use the full manual mode (M) and control all the settings yourself if you like. The Correct Aperture Saying that there is always a correct f-stop value for every photography setting is as crazy as saying there is only one type of food to eat on a Monday. At the end of the day, it’s up to you to creatively decide what you want. But here are some things/tips to keep in mind. A shallow depth of field (small aperture number) will make for great portraits and help with a busy background. It will create a clear visual definition of your main subject. Just don’t be tempted to always go for the largest aperture every time. A really large setting like 1.4 can make focusing difficult and can produce such a shallow depth of field that a person’s nose can be in focus but not their eyes. A side point, always, always make sure to focus on people’s eyes to ensure they are in focus. We, humans, look at each other in the eye and if they’re blurry, we think something is wrong. The same holds true for pictures. A deep depth of field (larger aperture number) is generally good for landscapes. You want that entire mountain and valley to be in sharp detailed focus. Here again, don’t just go for the smallest f-number and call it good. Most lenses can get soft (a bit blurry and with odd edge artifacts) at their maximum aperture value. You will need to try out your lens to see where that happens but start looking at anything over f/11. Also, a good trick is to focus on one-third of the way into the frame. It’s called the hyperfocal distance (at least a basic one, it can get complicated) and helps to ensure both the objects closer to you and farther away are in equal focus. Since most of you are using a DSLR you can simply take a few shots focusing on different areas and later look on the screen and choose the best one. The below image has a large f-stop number (small aperture), so the entire frame is in focus.
If this seems a bit to take in, the best way to learn is to practice and try different settings and look at the results. In time you will see what works for you and your camera. It can also take some time to learn each lens you own and what they can do. Just beware of getting LBA (lens buying addiction) when you want a larger aperture for an even shallower depth of field. You have been warned. I know, I have the affliction! Here is a Google Maps link: http://maps.google.com/?ie=UTF8&ll=47.858555,-119.077892&spn=0.067495,0.160675&t=h&z=13 Welcome to the site. See you around the site! You a photographer Ziggy? Granted you have a phone so I’m sure you take photos hehehe. Comment Name * Email *
Δ Save my name and email and send me emails as new comments are made to this post.


![]()
